🎉 Up to 70% Off Selected ItemsShop Sale
PAR VAN DYKE DIY KIT PAPER
Do it yourself Van Dyke kit.
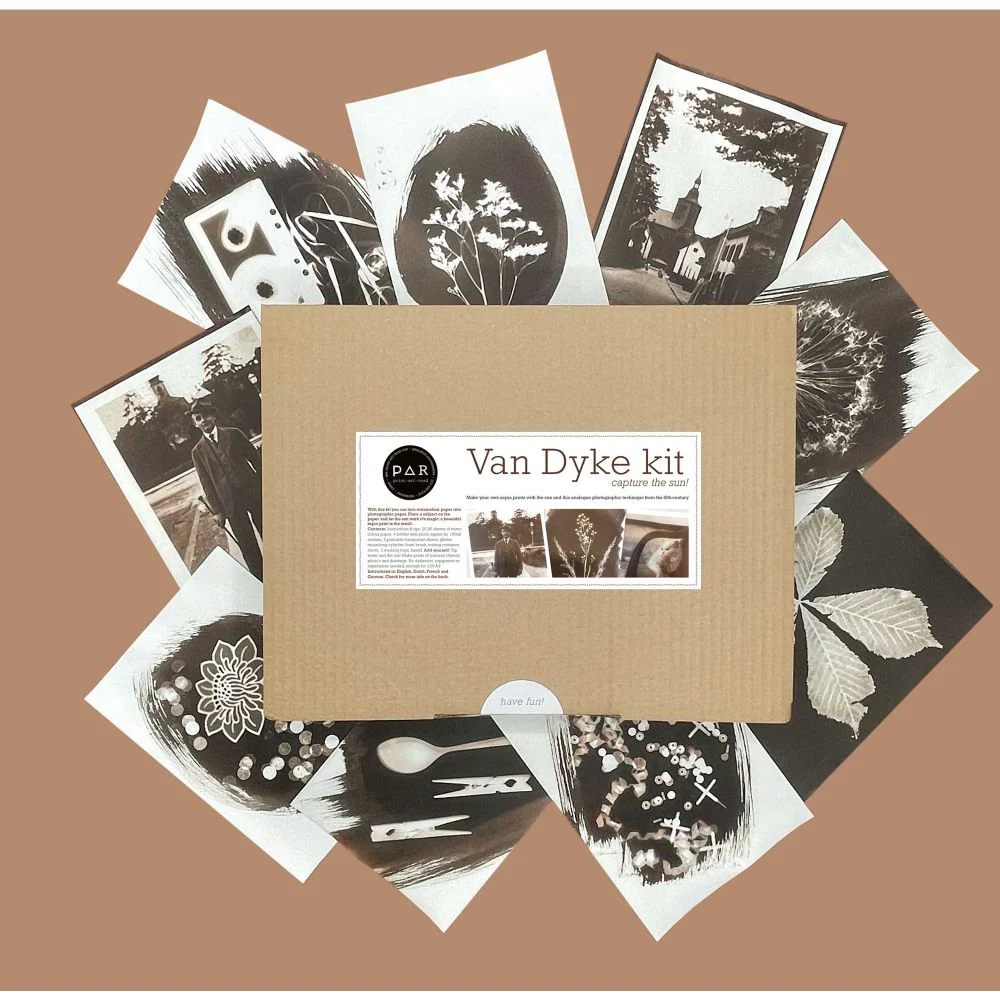
Create sepia prints using an analog photographic process from the 19th century. No darkroom needed, just this kit and some sunshine!
With the ingredients in this kit you can transform watercolor paper into photo paper yourself: you make it sensitive to UV light. Where the sun hits the treated paper, a dark brown color is created, also called sepia tint. In this way you can make brown-white prints at home yourself. For example, you can print a photo on a sheet, draw on a sheet or collect objects to then place them on the treated paper. Expose it to the sun for a while and you will see the color change! With this kit you can mix and apply the photo chemicals yourself, enough for ± 25 A4. So you can make enough mix to experiment further yourself.
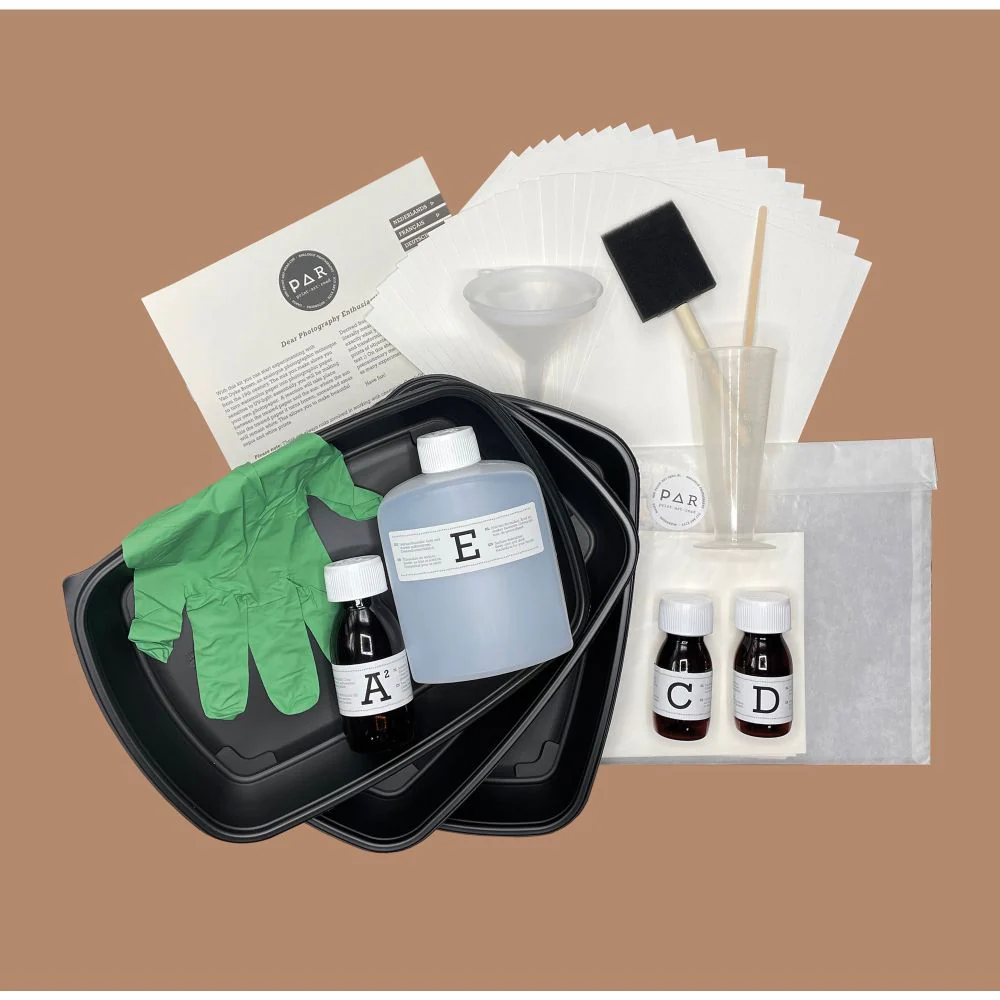
Kit Contents
– Step by step instructions and tips
– 4 bottles of photo media, ready for mixing
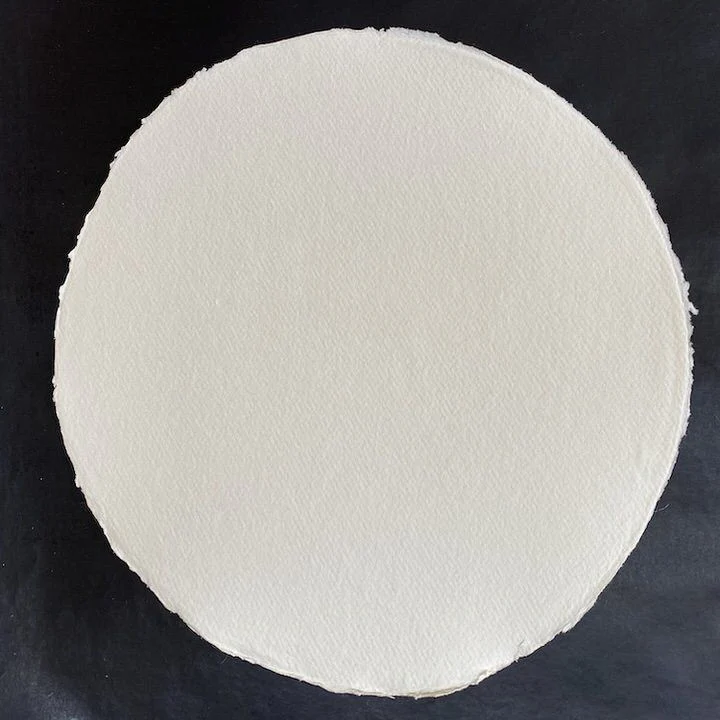
– 20 sheets of watercolour paper 15 x 21 cm
– 2 rectangular sinks
– gloves
– 5 transparent sheets, suitable for an inkjet printer
– 100ml measuring cylinder
– foam brush
–mixing bowl
– funnel
– stirring rod
Create sepia prints using an analog photographic process from the 19th century. No darkroom needed, just this kit and some sunshine!
With the ingredients in this kit you can transform watercolor paper into photo paper yourself: you make it sensitive to UV light. Where the sun hits the treated paper, a dark brown color is created, also called sepia tint. In this way you can make brown-white prints at home yourself. For example, you can print a photo on a sheet, draw on a sheet or collect objects to then place them on the treated paper. Expose it to the sun for a while and you will see the color change! With this kit you can mix and apply the photo chemicals yourself, enough for ± 25 A4. So you can make enough mix to experiment further yourself.
Kit Contents
– Step by step instructions and tips
– 4 bottles of photo media, ready for mixing
– 20 sheets of watercolour paper 15 x 21 cm
– 2 rectangular sinks
– gloves
– 5 transparent sheets, suitable for an inkjet printer
– 100ml measuring cylinder
– foam brush
–mixing bowl
– funnel
– stirring rod
Product Information
Product Information
Shipping & Returns
Shipping & Returns


PAR VAN DYKE DIY KIT PAPER
PAR VAN DYKE DIY KIT PAPER
Do it yourself Van Dyke kit.
Create sepia prints using an analog photographic process from the 19th century. No darkroom needed, just this kit and some sunshine!
With the ingredients in this kit you can transform watercolor paper into photo paper yourself: you make it sensitive to UV light. Where the sun hits the treated paper, a dark brown color is created, also called sepia tint. In this way you can make brown-white prints at home yourself. For example, you can print a photo on a sheet, draw on a sheet or collect objects to then place them on the treated paper. Expose it to the sun for a while and you will see the color change! With this kit you can mix and apply the photo chemicals yourself, enough for ± 25 A4. So you can make enough mix to experiment further yourself.
Kit Contents
– Step by step instructions and tips
– 4 bottles of photo media, ready for mixing
– 20 sheets of watercolour paper 15 x 21 cm
– 2 rectangular sinks
– gloves
– 5 transparent sheets, suitable for an inkjet printer
– 100ml measuring cylinder
– foam brush
–mixing bowl
– funnel
– stirring rod
Create sepia prints using an analog photographic process from the 19th century. No darkroom needed, just this kit and some sunshine!
With the ingredients in this kit you can transform watercolor paper into photo paper yourself: you make it sensitive to UV light. Where the sun hits the treated paper, a dark brown color is created, also called sepia tint. In this way you can make brown-white prints at home yourself. For example, you can print a photo on a sheet, draw on a sheet or collect objects to then place them on the treated paper. Expose it to the sun for a while and you will see the color change! With this kit you can mix and apply the photo chemicals yourself, enough for ± 25 A4. So you can make enough mix to experiment further yourself.
Kit Contents
– Step by step instructions and tips
– 4 bottles of photo media, ready for mixing
– 20 sheets of watercolour paper 15 x 21 cm
– 2 rectangular sinks
– gloves
– 5 transparent sheets, suitable for an inkjet printer
– 100ml measuring cylinder
– foam brush
–mixing bowl
– funnel
– stirring rod
$34.05
Original: $97.30
-65%PAR VAN DYKE DIY KIT PAPER—
$97.30
$34.05Product Information
Product Information
Shipping & Returns
Shipping & Returns
Description
Do it yourself Van Dyke kit.
Create sepia prints using an analog photographic process from the 19th century. No darkroom needed, just this kit and some sunshine!
With the ingredients in this kit you can transform watercolor paper into photo paper yourself: you make it sensitive to UV light. Where the sun hits the treated paper, a dark brown color is created, also called sepia tint. In this way you can make brown-white prints at home yourself. For example, you can print a photo on a sheet, draw on a sheet or collect objects to then place them on the treated paper. Expose it to the sun for a while and you will see the color change! With this kit you can mix and apply the photo chemicals yourself, enough for ± 25 A4. So you can make enough mix to experiment further yourself.
Kit Contents
– Step by step instructions and tips
– 4 bottles of photo media, ready for mixing
– 20 sheets of watercolour paper 15 x 21 cm
– 2 rectangular sinks
– gloves
– 5 transparent sheets, suitable for an inkjet printer
– 100ml measuring cylinder
– foam brush
–mixing bowl
– funnel
– stirring rod
Create sepia prints using an analog photographic process from the 19th century. No darkroom needed, just this kit and some sunshine!
With the ingredients in this kit you can transform watercolor paper into photo paper yourself: you make it sensitive to UV light. Where the sun hits the treated paper, a dark brown color is created, also called sepia tint. In this way you can make brown-white prints at home yourself. For example, you can print a photo on a sheet, draw on a sheet or collect objects to then place them on the treated paper. Expose it to the sun for a while and you will see the color change! With this kit you can mix and apply the photo chemicals yourself, enough for ± 25 A4. So you can make enough mix to experiment further yourself.
Kit Contents
– Step by step instructions and tips
– 4 bottles of photo media, ready for mixing
– 20 sheets of watercolour paper 15 x 21 cm
– 2 rectangular sinks
– gloves
– 5 transparent sheets, suitable for an inkjet printer
– 100ml measuring cylinder
– foam brush
–mixing bowl
– funnel
– stirring rod